Picture-Perfect Thoracic Radiographs
Janet Paquette, AS, LVMT, University of Tennessee
Part 1 of a 2-part series
Thoracic radiographs are vital when thoracic cavity abnormalities are suspected. They also are recom-mended when looking for lung diseases (eg, pneumonia, fungal disease, primary lung tumors, metastatic diseases, pneumothorax) as well as some other conditions (eg, cardiac disease, tumors, heartworms). Perfectly positioned thoracic radiographs are essential to help the veterinary team diagnose these conditions.
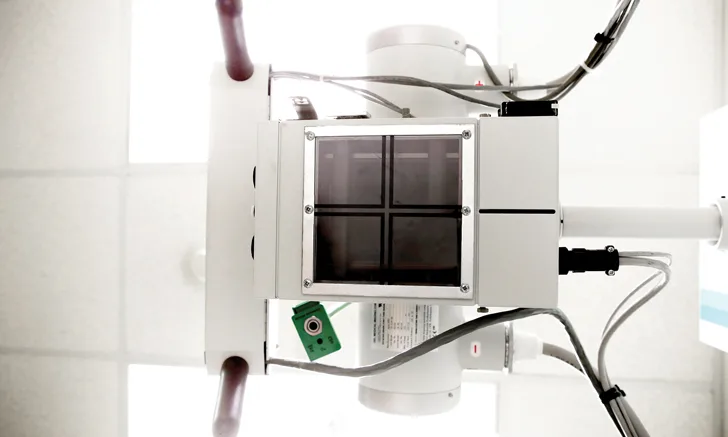
Veterinary nurses taking thoracic radiographs must remember that radiation safety comes first. Appropriate personal protective equipment should be used. Hands in the primary beam are unacceptable and dangerous. (See Figures 1 & 2.)
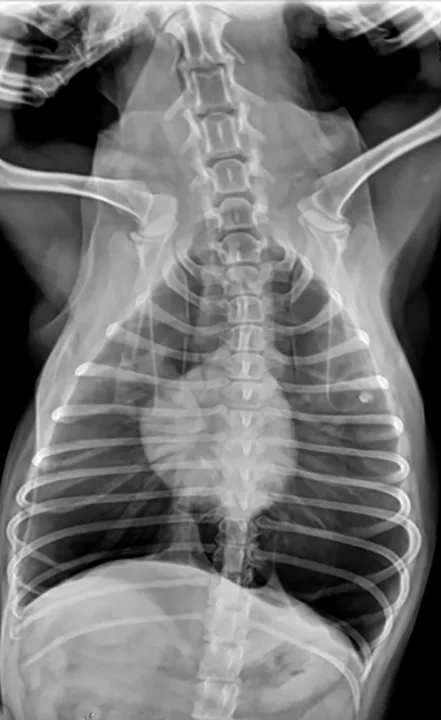
Figure 1 Ventrodorsal view obtained while holding the patient’s thoracic limbs with the hands
Images courtesy of Janet Paquette, AS, LVMT
Before taking the radiographs, the veterinary nurse should determine whether the patient is stable or if sedation or manual restraint is necessary. The veterinarian should determine the type and amount of sedation. Cotton ropes, tape, sandbags, and V-troughs can be used for manual restraint.
Taking the Radiographs
Thoracic radiographs usually are taken within the following parameters:
At a higher kVp and a lower mAs than abdominal films
On peak inspiration
With the entire thoracic cavity included (ie, the sternum ventrally, the spine dorsally, with the entire diaphragm visible)
Take note of the following items to ensure high-quality radiographs:
If the entire thoracic cavity cannot be imaged, ensure the sternum is visualized so vital anatomy is not excluded.
Three views (ie, right and left lateral, ventrodorsal) are recommended.
A dorsoventral view is acceptable if the patient cannot be positioned dorsally.
A horizontal beam or humanoid view may sometimes be required.
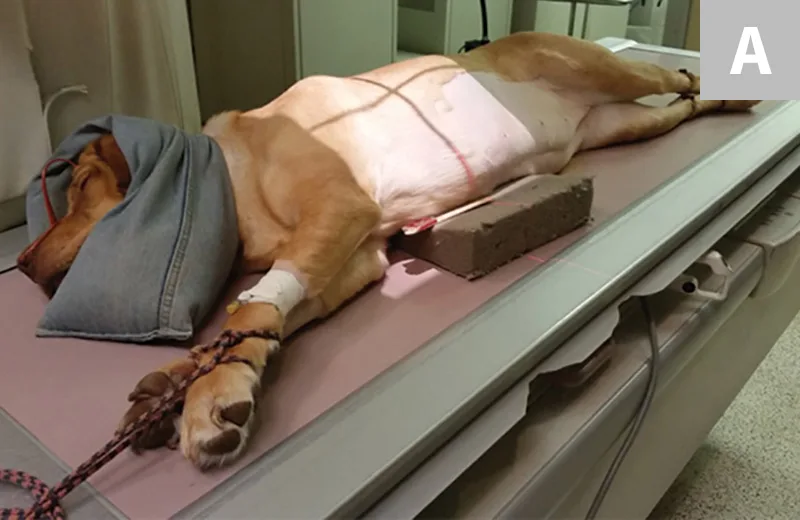
Position the patient in lateral recumbency with the dependent side down to obtain right or left lateral views. Tie the thoracic limbs with the cotton rope or tape, and pull them cranially so the elbow and tricep muscles are not superimposed over the cranial chest cavity.
Secure the pelvic limbs caudally in the same manner as the thoracic limbs, and place a sandbag across the neck to help with restraint. Ensure the patient is aligned laterally by putting one finger on the sternum and one on the dorsal spinous process and confirming they are equidistant to the table. If not, place a foam wedge under the patients lower side to acquire laterality, being sure to include a right or left marker. (See Figure 3.) Also, when critiquing the radiograph for laterality, make sure to check the rib heads for super-imposition. (See Figure 3A.)
Place the patient in dorsal recumbency for the ventrodorsal view. For ease in positioning, a V-trough helps keep the spine and sternum aligned and is more comfortable for the patient. With the head straight, tie the thoracic limbs cranially and the pelvic limbs caudally. Place a thin sandbag across the neck or on either side of the head if help is needed with restraint and positioning. The head and neck need to be straight, not turned to the side. (See Figure 4.)
Make sure the sternum and dorsum are superimposed on the radiograph. If the spinous processes are visible pointing to one side, move the sternum in the direction they are pointing to straighten the spine and sternum. (See Figure 5.)
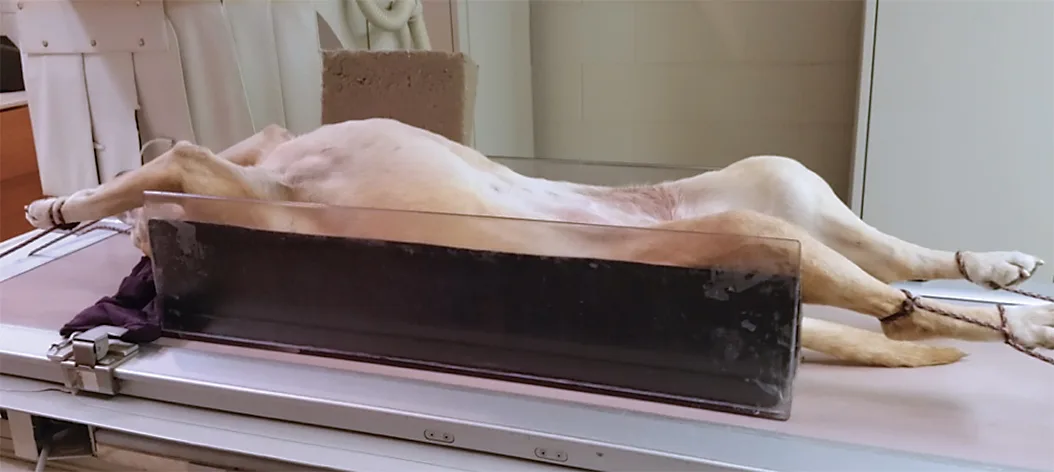
Figure 4 Ventrodorsal positioning
If a dorsoventral view is required, place the patient in sternal recumbency with the thoracic limbs pulled forward and out of the chest. The pelvic limbs can be in a frog-legged position. Place a sandbag across the neck to help stabilize the patient. The collimation landmarks are the same as the ventrodorsal view. (See Figure 6 & Collimation for Thoracic Films.)
Use the humanoid projection to visualize the cranial lung field and remove any superimposition of the caudal scapula. Place the patient in dorsal recumbency with the thoracic limbs pulled caudally along his or her side. The landmarks are the same as other views. (See Figures 7A & 7B.)
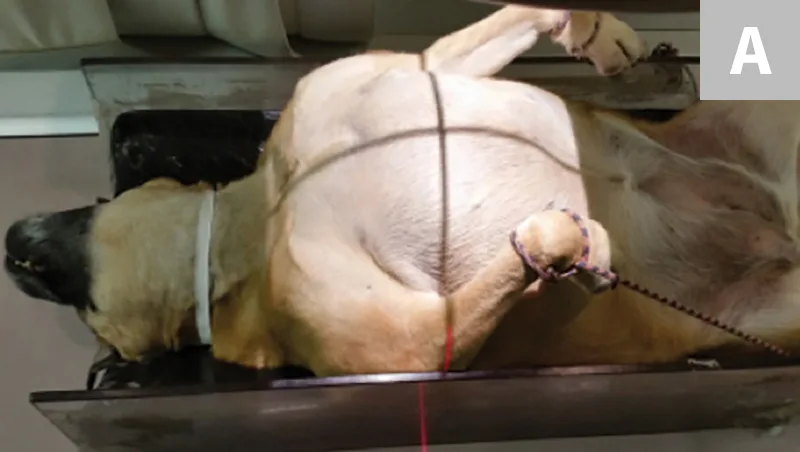
Figure 7A
Humanoid positioning with legs pulled caudally alongside the patient (A). Resulting humanoid view (B). Note the scapula are not superimposed over the chest.
Collimation for Thoracic Films
Follow these guidelines:
Landmarks are from the thoracic inlet cranially to halfway between the xyphoid and the last rib caudally.
In small- to medium-breed patients, include the sternum ventrally and the spinous processes dorsally. (See Large-Breed Dogs.)
Palpate the caudal edge of the scapula, and place the vertical line of the collimator light at or just caudal to this point to ensure the heart is centered in the radiograph.
The horizontal line of the collimator light needs to be halfway between the sternum and the spine.
Expose the radiograph on peak inspiration.
Collimation landmarks are the same in the lateral and ventrodorsal views.
If the patient is panting, take the image at a faster speed (ie, decrease the time, increase the mAs) to decrease motion.
Large-Breed Dogs
The following tips may be useful when taking thoracic radiographs in large-breed or deep-chested dogs.
Excluding the spinous processes to ensure the entire sternum will be in the view may be necessary.
Turning the cassette or plate vertically so the entire thoracic cavity is present in the dorsal and ventral plane may also be necessary.
Cranial and caudal radiographs that include the entire thorax will be needed.
Conclusion
High-quality, correctly positioned thoracic radiographs are crucial to help the veterinarian diagnose thoracic cavity abnormalities, so the veterinary nurse must make sure the radiographs are the best they can be.
This article originally appeared in the August 2017 issue of Veterinary Team Brief.