Splint Application
Selena Tinga, DVM, PhD, DACVS-SA, The Ohio State University
Daniel D. Lewis, DVM, DACVS, University of Florida

Discussion
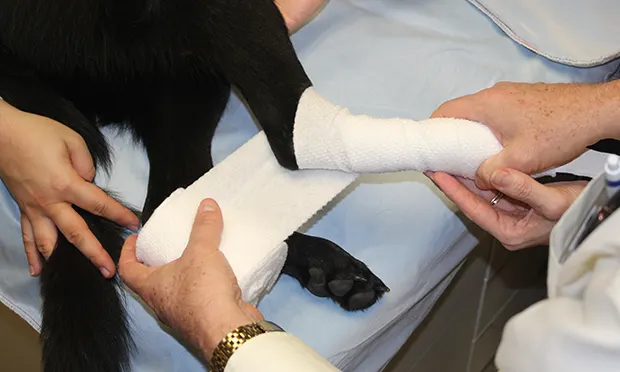
Casts and coaptation splints provide extracorporeal support that can be used for fracture management. Splints are preferable because, in our experience, full cylinder casts are associated with a high incidence of morbidity in dogs and cats. Malleable splint materials are preferable because they can be conformed to the limb shape and applied to avoid placing direct pressure on osseous protuberances.
The cardinal rule of coaptation is that the joint proximal and distal to the fracture must be immobilized, but splints are generally extended distally to the digits, regardless of fracture location, to avoid creating a tourniquet effect.
Coaptation is typically utilized following closed reduction of relatively stable, nonarticular fractures located distal to the elbow or stifle and is most suited for stabilizing fractures in young animals that are expected to heal rapidly.
Closed reduction is best accomplished soon after injury, before the forces necessary to overcome muscle contraction and early fibrous callus formation become insurmountable. Closed reduction, theoretically, should minimize iatrogenic trauma to the fracture site and adjacent soft tissues and thus facilitate early fracture healing. Achieving an anatomic closed reduction is often difficult, but the fracture segments must be brought into close enough proximity to optimize the healing process. The alignment of the fracture segments should approximate normal anatomy sufficiently to restore limb function.
A splint should always be applied when indicated, and not because coaptation is considered the least expensive form of fracture management. Many hidden costs are associated with applying and properly maintaining a splint, such as multiple, time-consuming rechecks with splint changes (usually weekly) that can be costly. Other disadvantages associated with coaptation include excessive persistent motion of the fracture segments that can result in the failure to obtain union, immobilization of coapted joints that can result in residual loss of range of joint motion, and the need to keep the splint clean and dry.
Step-by-Step: Splint Application
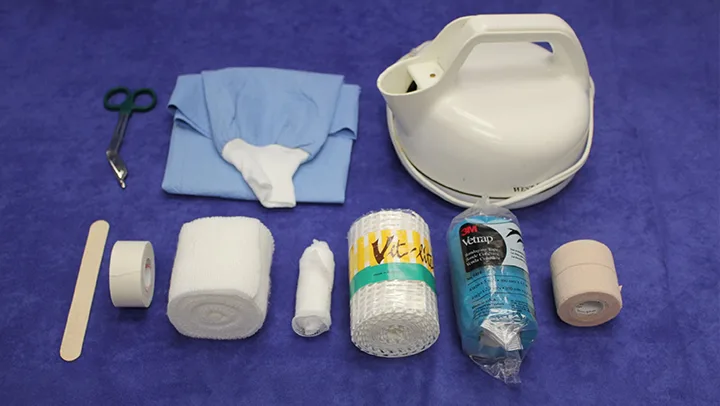
What You Will Need
Bandage scissors
Tongue depressor
1 roll of porous white adhesive tape
1 to 4 rolls of cast padding
1 to 3 rolls of gauze
Splint material
Water (boiling)
1 to 3 rolls of self-adherent wrap
1 roll of adhesive stretch tape
Impermeable cover

Guide to Splint Application

Step 1.
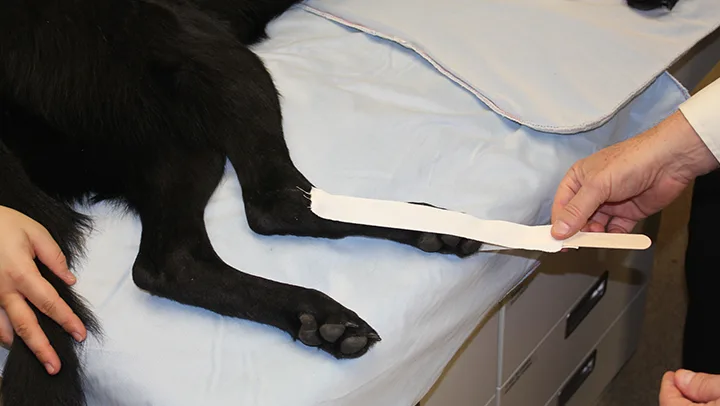
To help prevent the splint from slipping distally, apply stirrups made from porous white tape to the medial and lateral aspect of the paw, leaving several centimeters of tape extending beyond the digits. Place a tongue depressor between the adhesive surfaces so that the stirrups can be easily separated later. During the entire splint application process, take care to maintain the joints in normal standing angles, not in extension.